
I’m Sara Wells!
Sara Wells co-founded Our Best Bites in 2008. She is the author of three Bestselling Cook Books, Best Bites: 150 Family Favorite Recipes, Savoring the Seasons with Our Best Bites, and 400 Calories or Less from Our Best Bites. Sara’s work has been featured in many local and national news outlets and publications such as Parenting Magazine, Better Homes & Gardens, Fine Cooking, The Rachel Ray Show and the New York Times.
Sara’s Favorite Recipes

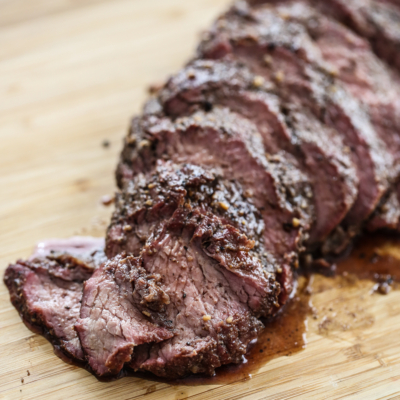
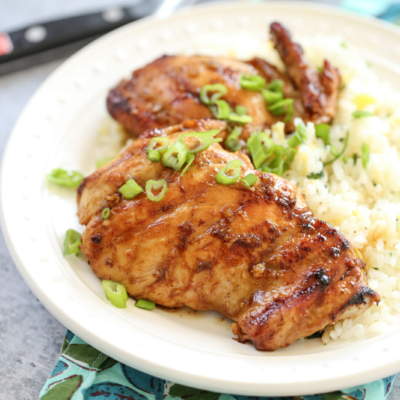
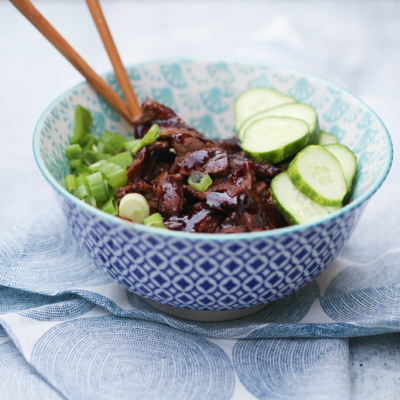
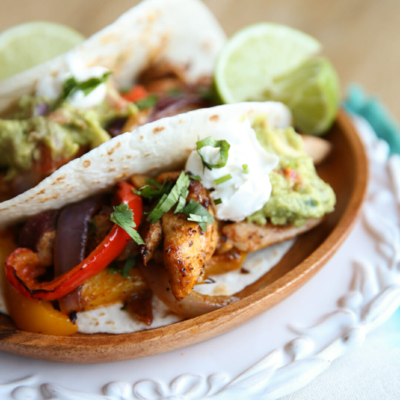
Main Dishes & Dinner Ideas
Don’t let dinner be boring! Here you will find a huge selection of main courses where you will be sure to find something to please every palate.
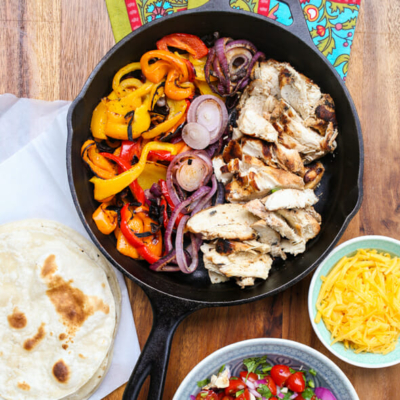
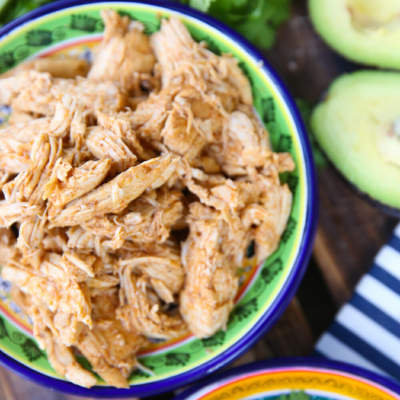
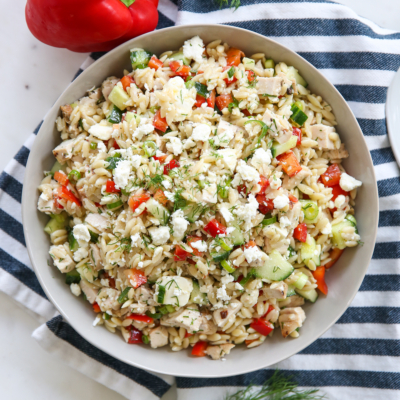
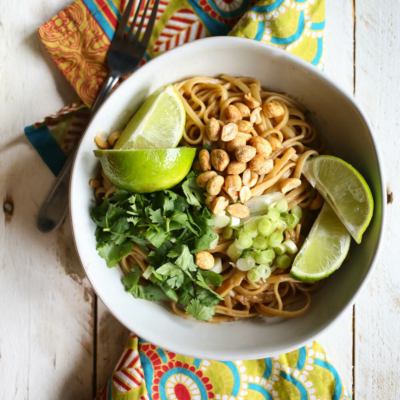
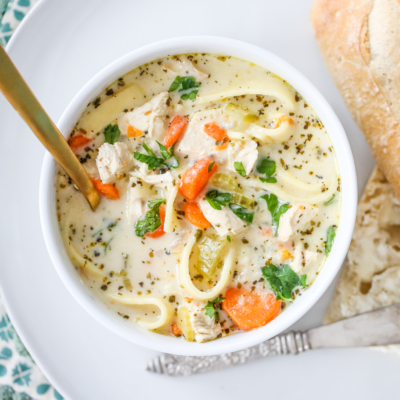
30 Minute Meals
I know how busy life can get! But I also know you don’t need to spend a lot of time in the kitchen to get a delicious meal on the table. This collection of recipes focuses on simple, quick meals that you can make (from start to finish) in 30 minutes or less. From one-pot meals like our Cheesy Chicken Alfredo to easy skillet dinners like our Cashew Chicken Skillet Stir-Fry, these family-friendly favorites are sure to be a home run.
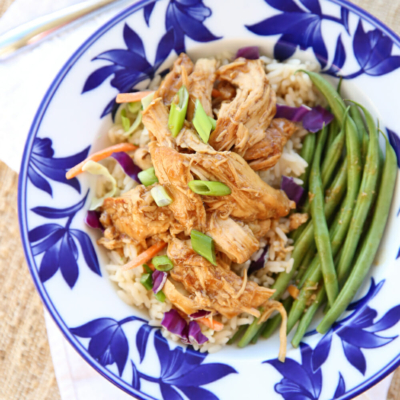
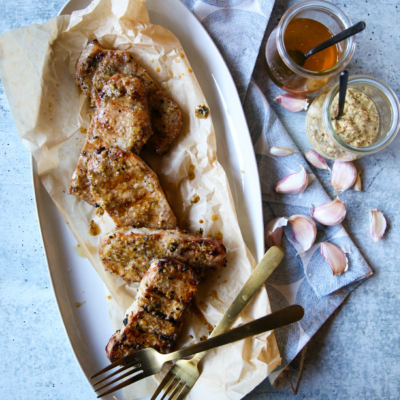
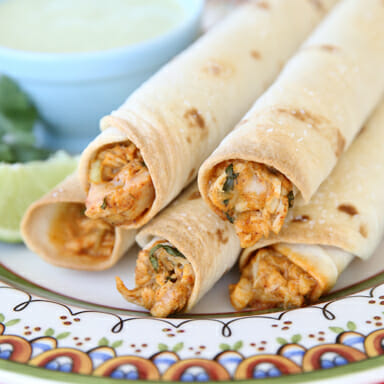
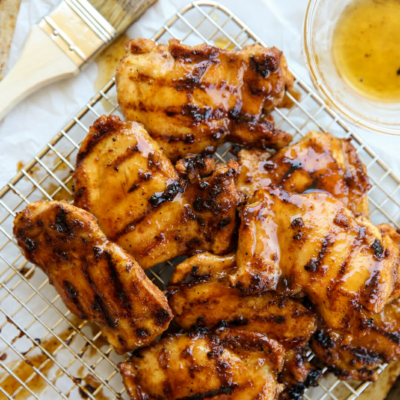
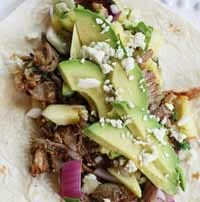
Burgers, Sandwiches, & Wraps
Any meal you can hold in your hand can be found right here! From burgers to wraps, gyros to sliders, taquitos to burritos- look through the list and get inspired!
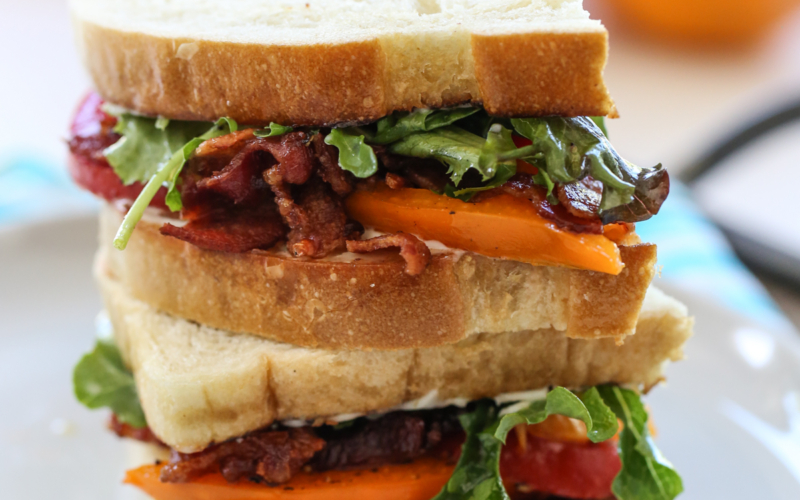
The Best BLT Sandwich
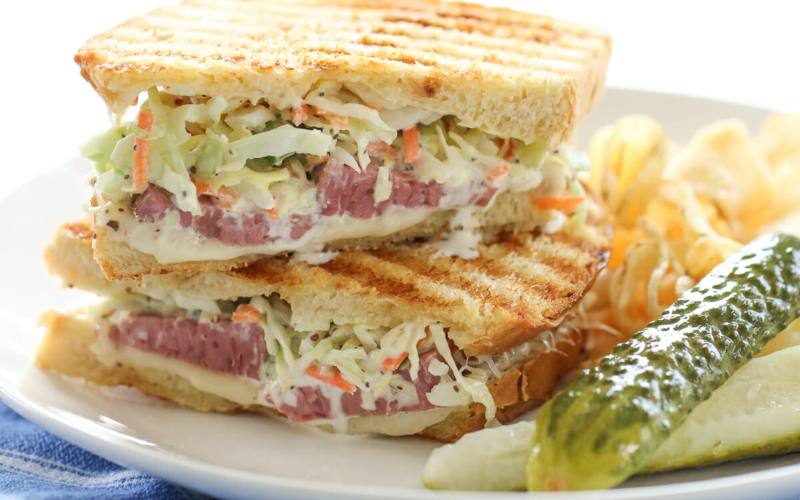
Deli-Style Corned Beef Sandwich
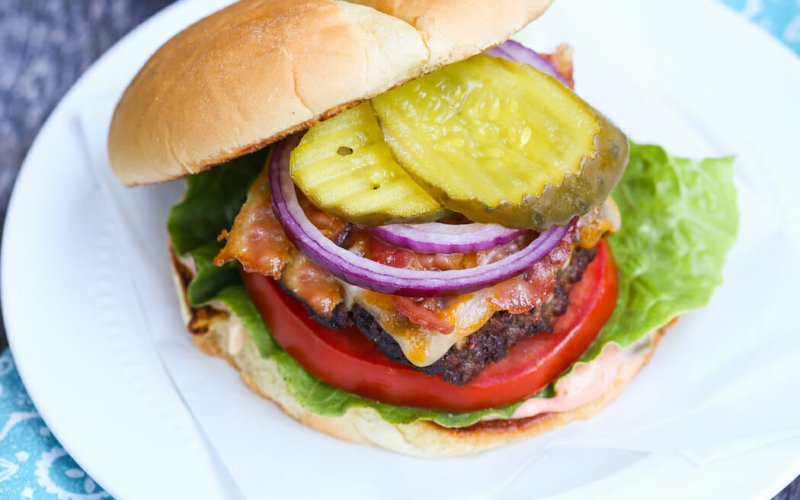
The Best Grilled Hamburgers (Samburgers)

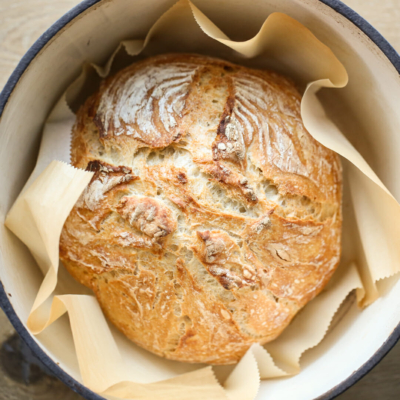
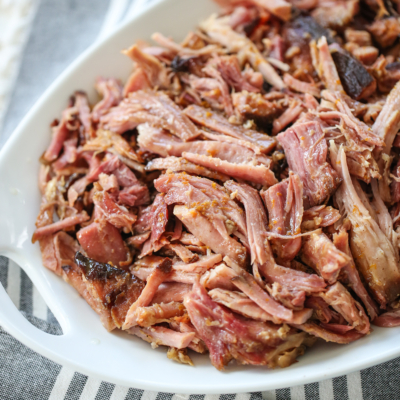
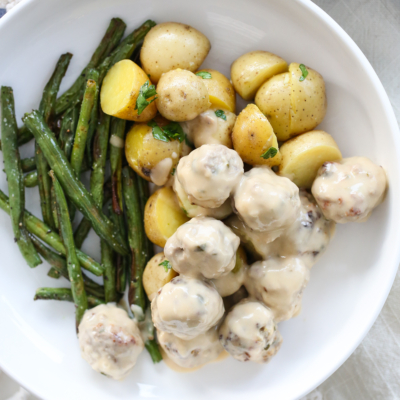
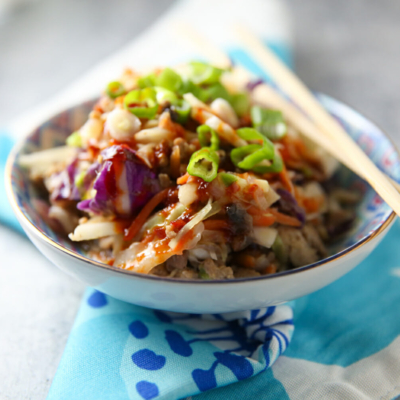
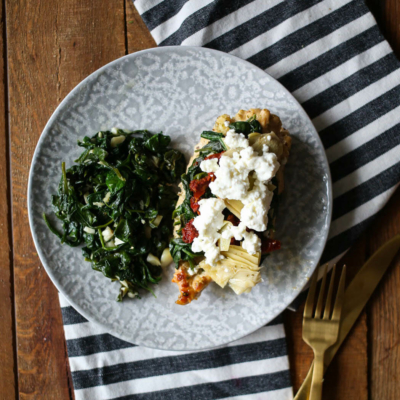
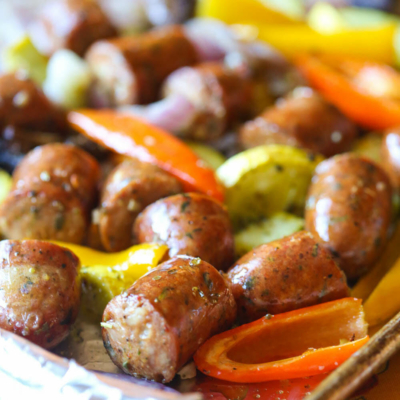
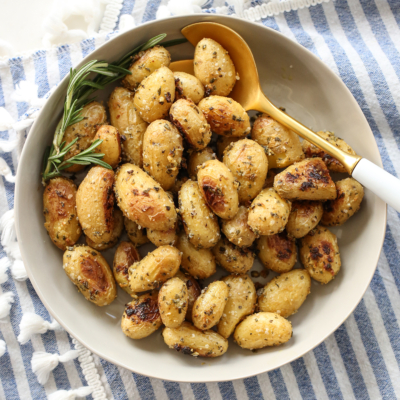
Easy, One-Dish Dinners
Easy prep, serving and clean up- these one-dish dinners are perfect to simplify meal time on busy nights!

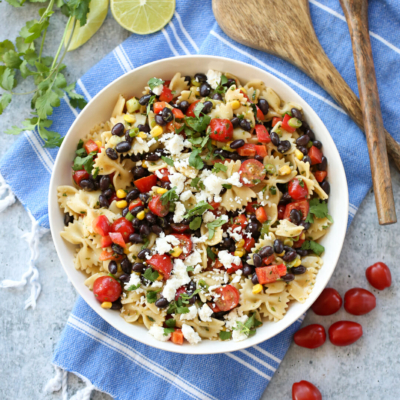
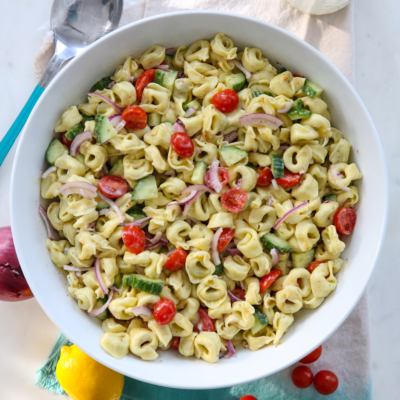
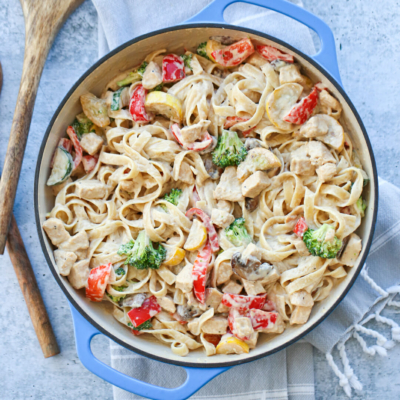
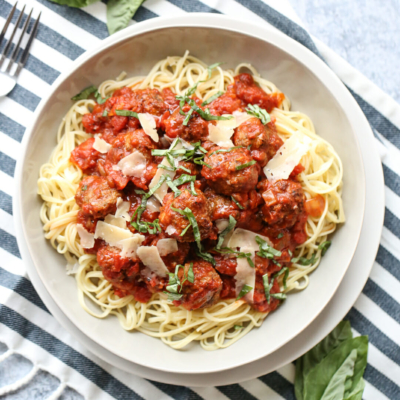
Positively Pasta
Pasta is comfort food at its finest. These dishes are reminiscent of family meals and cozy tables where everyone comes together after a long day to enjoy each other’s company. Stovetop Macaroni and Cheese, Skillet Baked Ziti, or classic Spaghetti and Meatballs can all be found here, along with other pasta favorites.

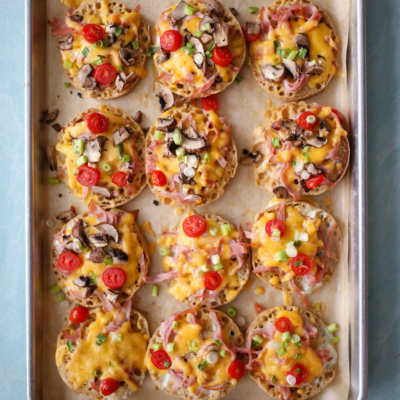
The Best Guide to Pizza
Fun to make and to eat, pizza is a family- pleasing favorite that comes together quickly. With nearly endless topping options, you’re sure to find something to love in this collection of pizza recipes. From dough to sauce, unique toppings to cooking pizza on the grill– there is no shortage of ideas here to make pizza night a little more exciting.
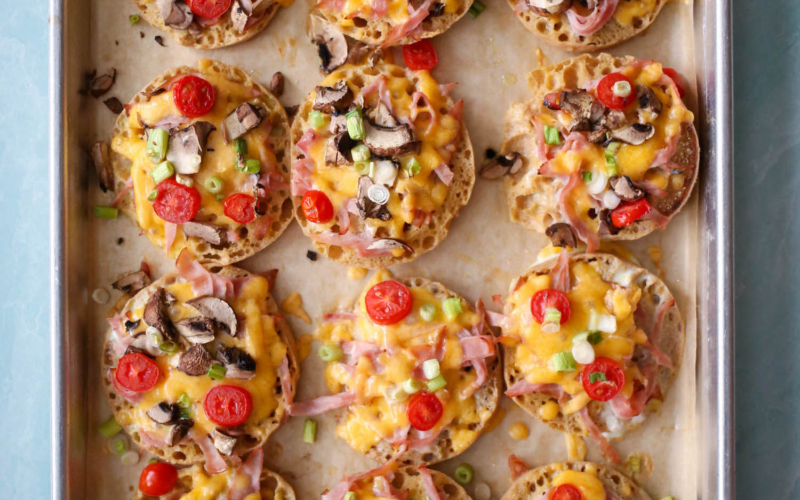
English Muffin Breakfast Pizzas
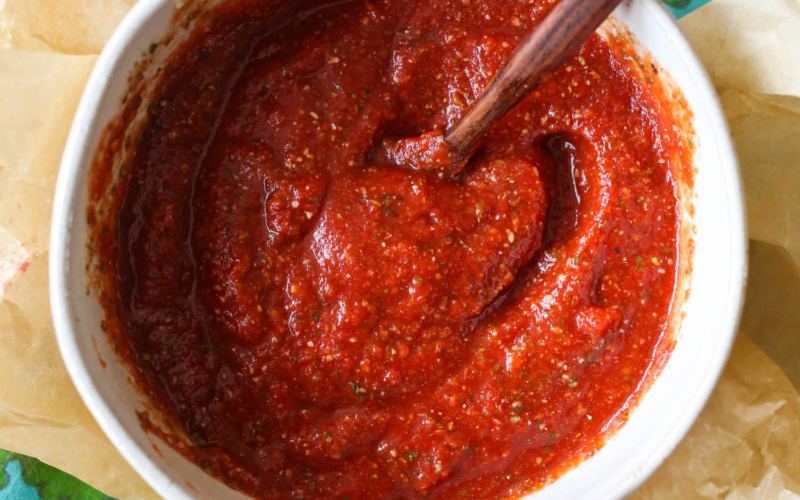
Pizza Sauce
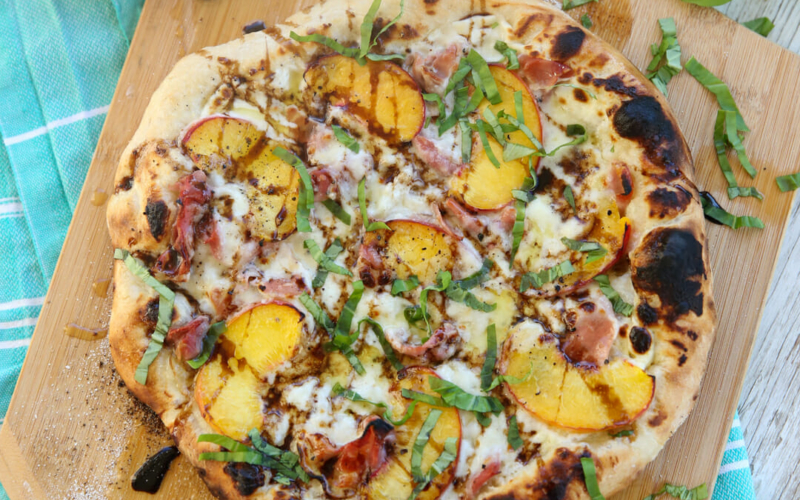
Peach-Prosciutto Pizza
Browse More Courses

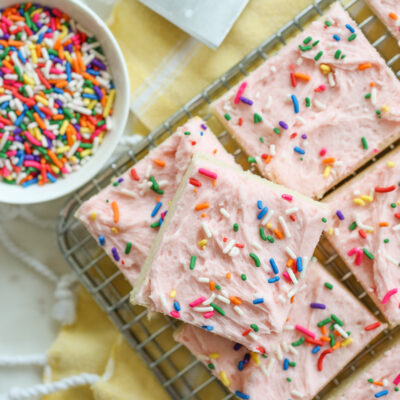
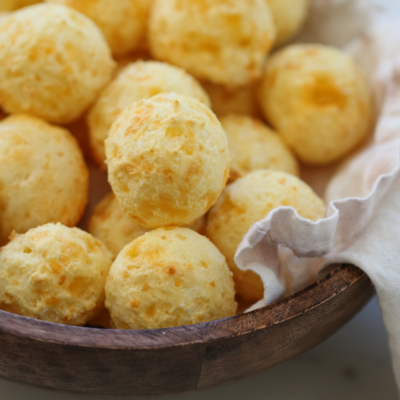
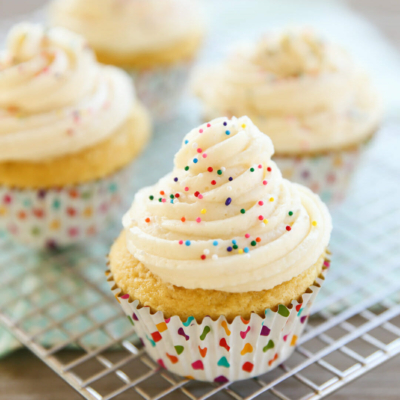
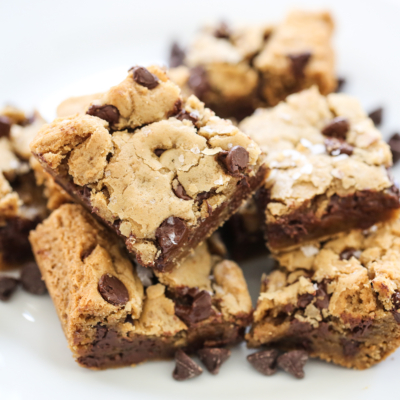
Delicious Desserts
Who doesn’t love dessert?! From cookies to pastry, cupcakes to doughnuts, cinnamon rolls to phyllo cakes, and everything in between- here you will find desserts for every occasion!
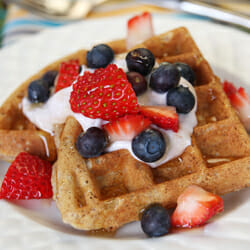
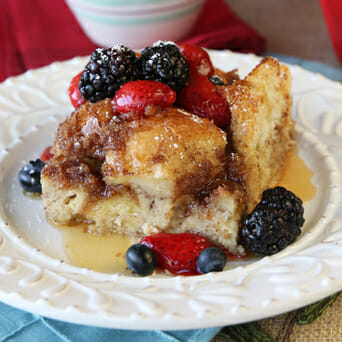
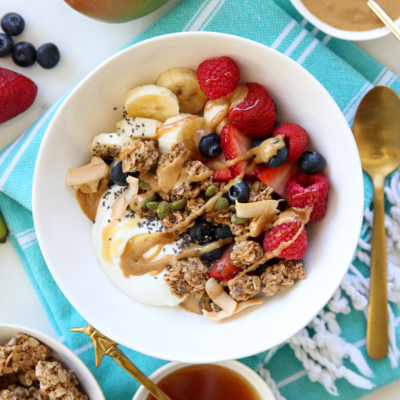
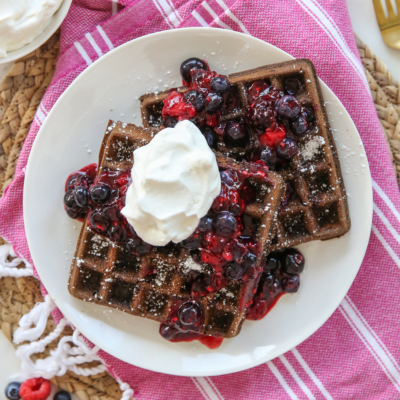
Breakfast & Brunch Ideas
From easy morning fuel to special holiday favorites, you’ll find all of my best breakfast recipes right here!